
Create Gigs
Create service gigs that vendors can hire. Your available gig limit is managed by the Wicofly admin.
Information
Partners can create service gigs that vendors can hire. Each gig represents a service you offer through the Wicofly platform.
Warning
The number of gigs you can create depends on the gig limit assigned to your account by the Wicofly admin.
1
Step 1
Open the Gigs Page
Go to the Gigs section in your Partner Dashboard.
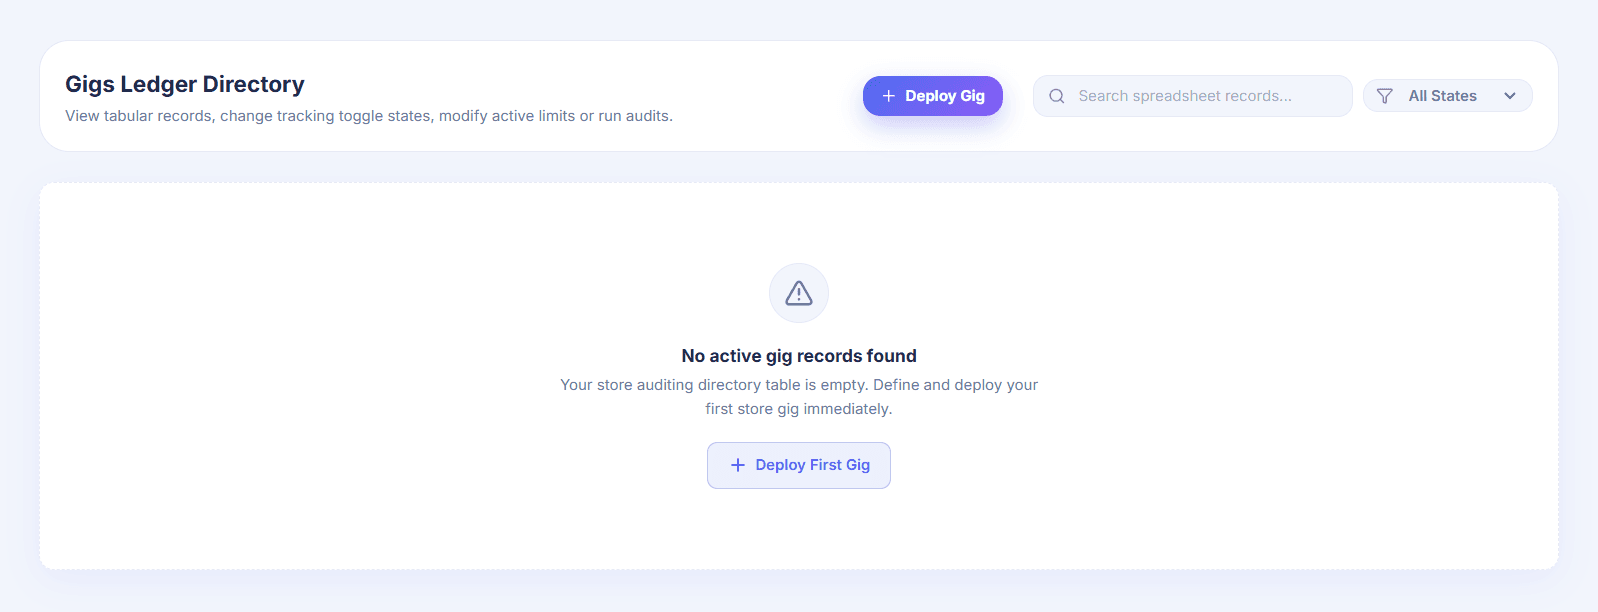
Click Deploy Gig or Deploy First Gig to create a new service.
2
Step 2
Fill in the Gig Details
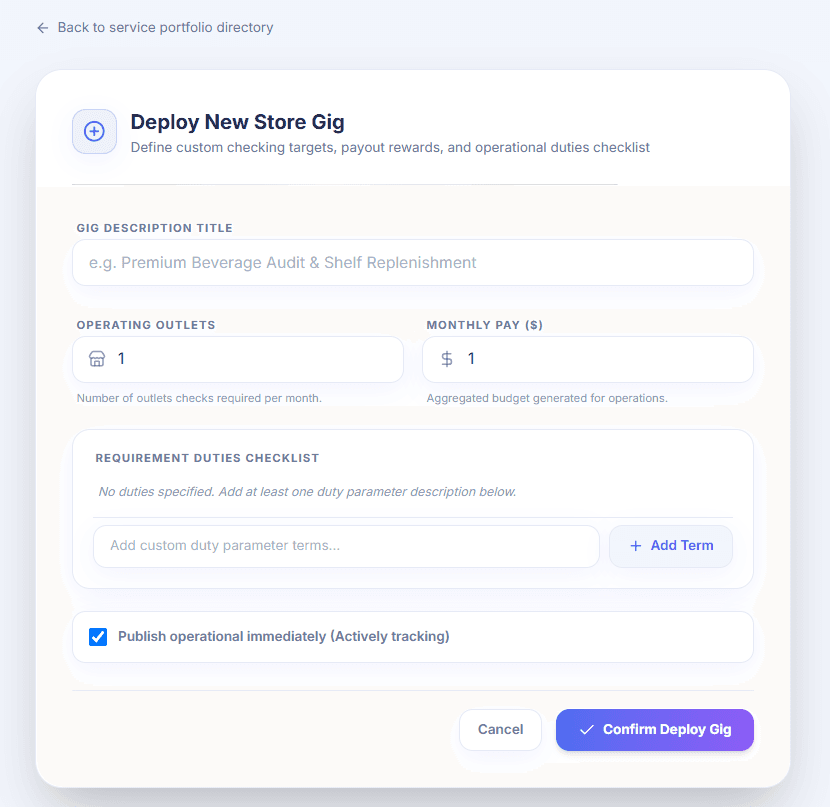
Complete all required fields before publishing your gig.
Enter a gig title.
Set the number of operating outlets.
Enter the monthly payment amount.
Add one or more duty checklist items.
Enable 'Publish operational immediately' if you want the gig to become active immediately.
Tip
Use a clear title and detailed duty checklist so vendors understand the work before hiring you.
3
Step 3
Publish Your Gig
After completing the form, click Confirm Deploy Gig.
Your gig becomes available to vendors.
Vendors can view your gig on Hire Store Manager page.
Interested vendors can hire you.
You receive the monthly payment defined for the gig after being hired.
Success
Once your gig is published, vendors can discover and hire your services directly from the platform.
Information
After vendors hire your gig, you can monitor your earnings and request payouts from your Partner Dashboard.